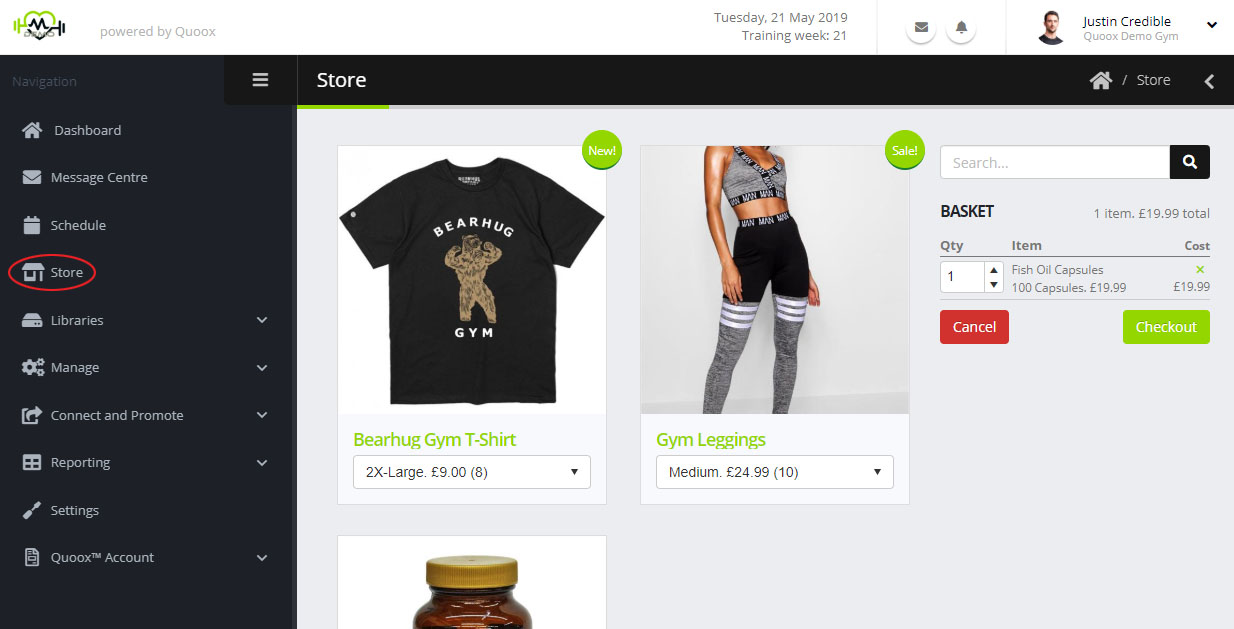
The Point of Sale (Store) functionality is accessed by selecting Store from the main menu.
Store items are display in a grid format, along with images of the item being sold.
Each item has a drop-down list of variants, allowing the particular size or version to be selected. Once selected, the staff member can click Add to Basket to add the chosen item to the basket. The basket appears on the right hand side, and includes options for removing items and changing the number of items in the basket.
Once ready to checkout, the staff member will click the Checkout button.
Custom Charges
On occasion you may have the need to create an ad-hoc/custom charge against a customer. This might be for a short run product (that you don’t wish to add to your inventory), or a variable charge.
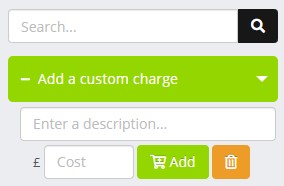
To add a custom charge, expand the “Add a custom charge” area above the store basket:
Provide details relating to the custom charge:
- Description – a meaningful summary of the charge (E.g. Custom training session)
- Cost – enter the gross cost for the charge (I.e. including tax)
Note: The tax element assumed to be contained within the cost will be taken from your default tax setting, as configured in Settings.
Click the Add button to record the custom charge, or the button to cancel the charge.
Store Checkout for Members
By default, the store checkout will default to the member view.
The checkout process comprises several simple steps:
- Select the member and payment method
- Provide payment details (as necessary)
- Check the amount to be tendered
- Confirm the transaction
The member will be email an invoice, and the transaction will be recorded against their member profile.
Charge to member account
A centre may optionally enable functionality to allow members to charge purchases against their “tab”. These purchases can then be paid for in one go at some point in the future.
During the checkout process, the employee would select the member name as per usual, but then click the Add to Member’s Tab button.
The order will be recorded against the Store Tab section in the member profile.
Guest Checkout
For non-members the checkout process is similar, but slightly different to that of members.
When the member checkout is launched, this can be switched to the guest checkout by pressing the Guest button in the bottom-left of the screen.
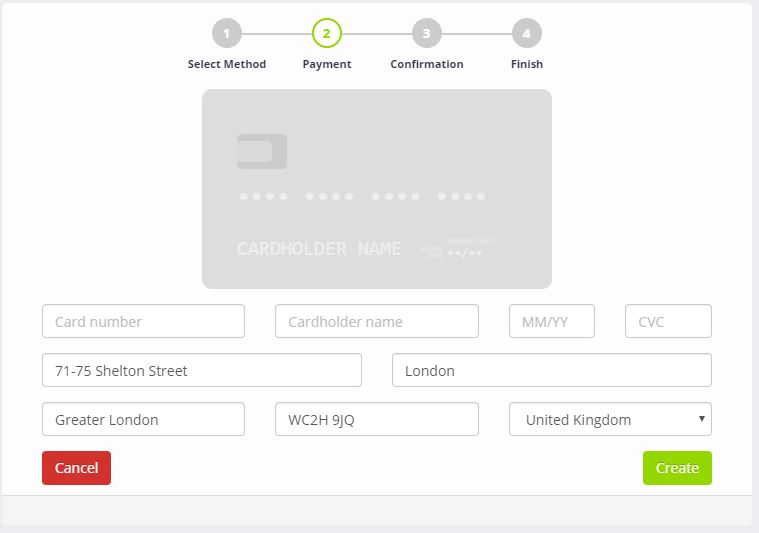
The process then continues as before, but without the option to charge a member tab. Additionally, address information is required – along with the credit/debit card information. This is inline with forthcoming compliance for online card charging.


