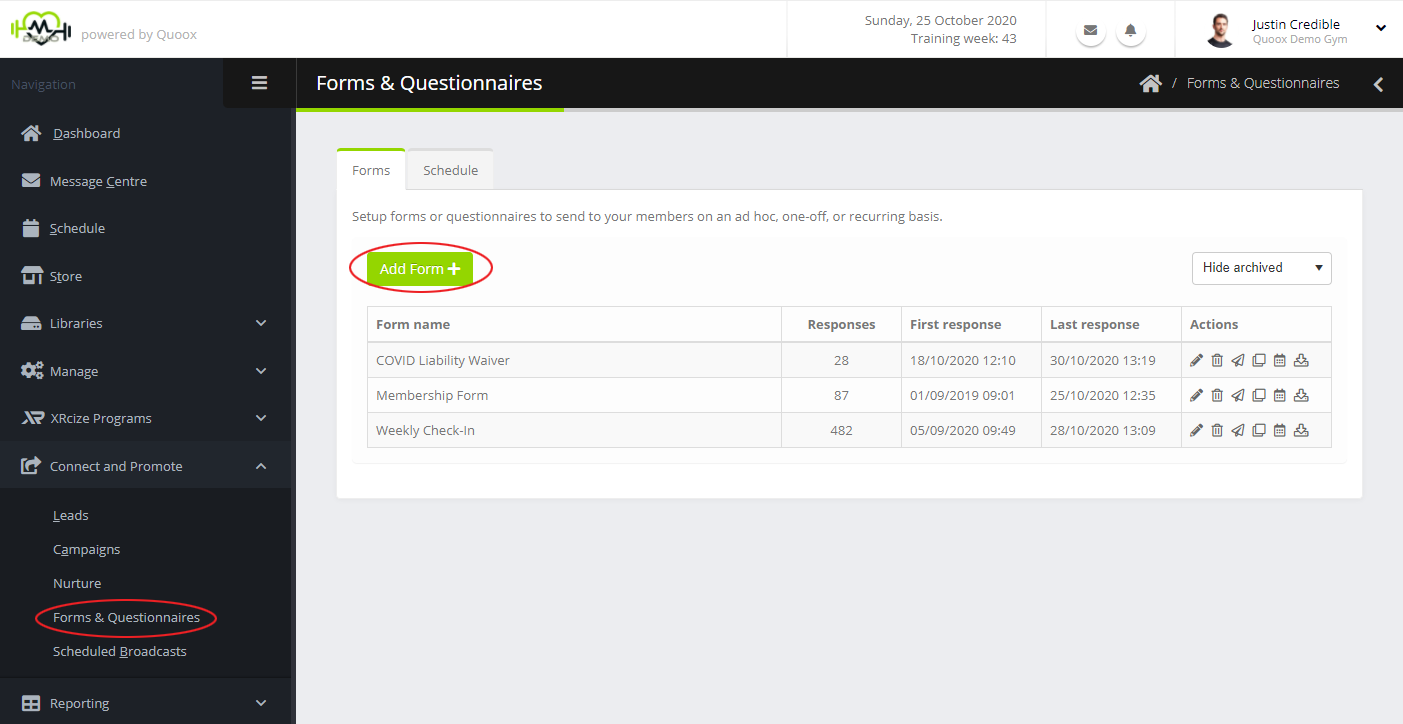
Forms and Questionnaires may be administered by selecting Forms & Questionnaires from the Connect and Promote section of the main navigational menu.
A listing of your existing forms and questionnaires will be shown, along with some statistics plus a number of available actions.
The information displayed for each form will comprise:
- Form name – the name that you have allocated the form/questionnaire. This is visible to your members.
- Responses – the number of completed responses that have been received for this form/questionnaire.
- First response – the date/time of when the first response was received.
- Last response – the date/time of when the last response was received.
You may double-click on a given form to jump to the form configuration/edit page.
For each form, actions are available that may include:
- – View/Edit the form/questionnaire
- – Archive the form/questionnaire. This will also cancel any existing schedules or pending responses.
- – Send out the form/questionnaire on an ad hoc basis, to a member or members that you choose.
- – Clone the form/questionnaire. This creates a copy of the form questionnaire, but does not bring across any responses.
- – View/edit the schedule for this form/questionnaire.
- – Download the textual responses to the form/questionnaire as an Excel Spreadsheet.
Clicking the Add Form button will take you to the form configuration screen.
Send out a form on an ad hoc basis
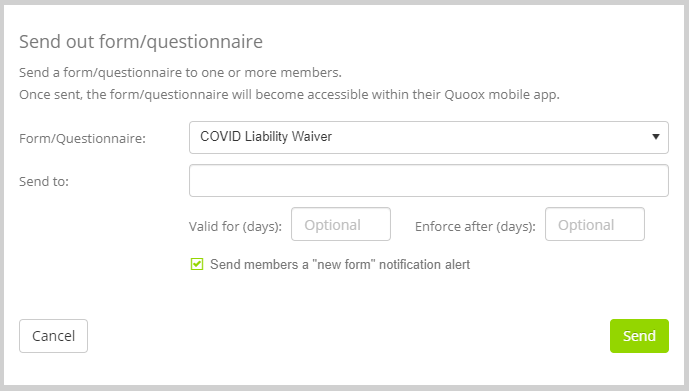
You may send out a form or questionnaire to one or more members immediately and on an ad hoc basis by clicking the button alongside the form that you wish to send. This will open the ad hoc send dialog window.
The form will be pre-selected, but you may select an alternate if you wish.
In the Send to box, enter one or more members; groups; or memberships to whom you wish to send the form.
If you wish to have the form auto-expire after a given number of days, enter a value in the Valid for (days) box. Additionally, if you wish to have it such that the member must complete the form after a given number of days, and that they cannot book another session until they have done so, enter a value in the Enforce after (days) box. A value of 0 in the enforcement box makes it that the form is required immediately, and that the member cannot book a further session via the app until they have completed it.
Ticking the Send members a “new form” notification alert check box will notify all of the recipients that there is a new form awaiting their completion. Untick this box if you wish to send your own advisement by other means (such as via the message centre).
Note: When you send out a form on an ad hoc basis, a check will be performed to see if the member already has the same form allocated to them from a previous ad hoc send out that isn’t yet completed. If they do have the form allocated already, the form will not be duplicated. This does not apply if the form has been allocated to them via other means (i.e. non-ad hoc)
Viewing a form/questionnaire send out schedule
To view the send out schedule for a given form/questionnaire, click the corresponding icon. This will take you to the schedule tab, with the listing filtered by the scheduled pertaining to the selected form.
Clicking Add Schedule will take you to the new schedule form, through which you can configure a new scheduled send out for the form.
Clicking against a given schedule will enable you to edit the schedule. Clicking will, after confirmation, delete the schedule. When you delete a schedule, no further forms are sent out. Existing pending requests remain intact, until expiry.
Downloading form responses
You may download the textual elements of the form responses for bulk review as an Excel Spreadsheet. To do this, click the action icon.
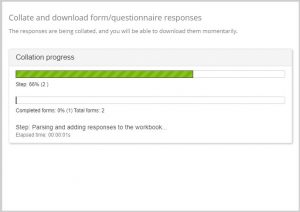
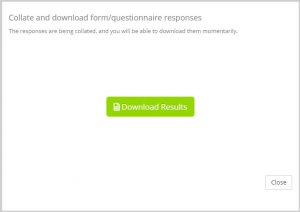
The collation popup window will open and Quoox will start collating the form responses into a spreadsheet. Depending on the number of responses, this may take a few seconds. A progress box will be shown. Once the collation has completed, the download button will be provided.
- Responses are collated
- Download results
Clicking the Download Results button will download the collated spreadsheet to your computer.
The spreadsheet comprises two tabs:
Tab 1 : Questions
This tab lists the active form/questionnaire questions, in full, in order.
Tab 2 : Responses
This tab lists the responses provided to the form. Details include:
- Member name
- The date/time at which the member completed the form
- Member email
- Member mobile
- The textual answer(s) provided to each question. The spreadsheet does not show the signatures provided, or files uploaded. These can be access via the questionnaire response view.
Note: The responses tab deliberately truncates the question length, and can be crossed reference with the same question number on the questions tab to view the full question text.


